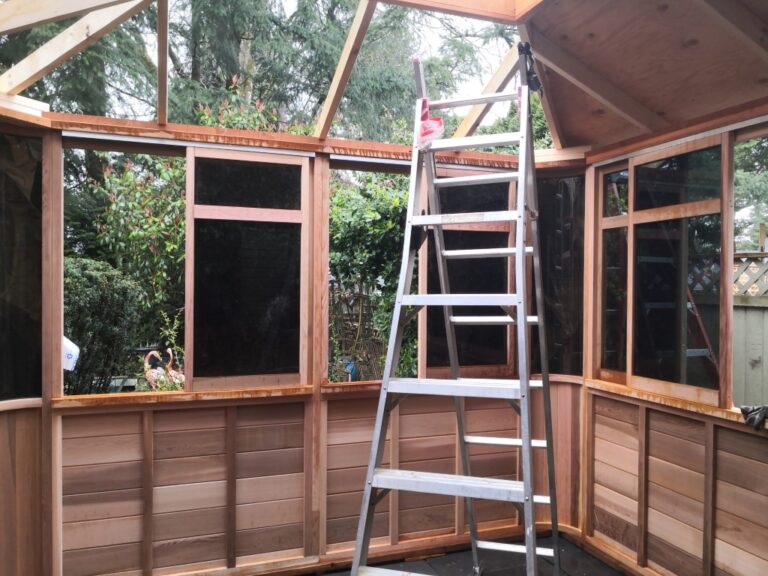
Installations of Atlantic 10’x12′
In a raining Spring season, we assembled our new Atlantic 10’x12′ Hot tub gazebo. Hover your mouse over the images to see descriptions. Click the

In a raining Spring season, we assembled our new Atlantic 10’x12′ Hot tub gazebo. Hover your mouse over the images to see descriptions. Click the
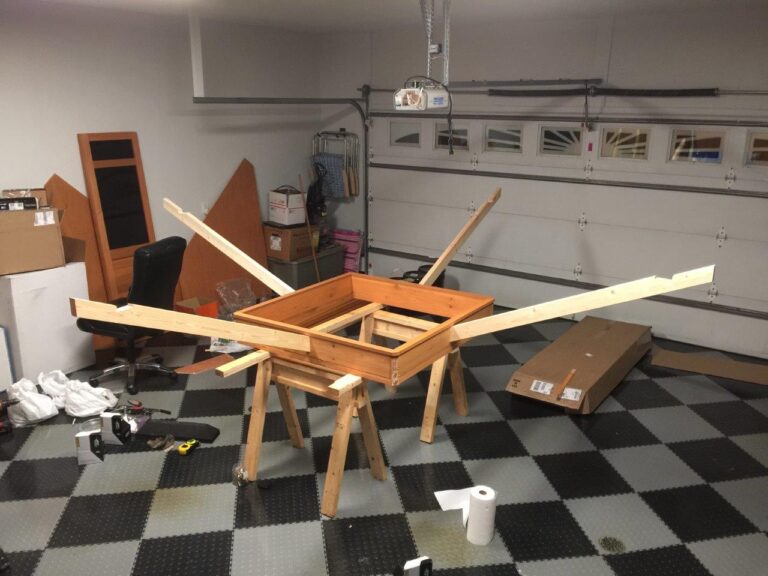
Well here is the completed Pacfic 12×12 Gazebo. I beefed up the roof system for the snow loads here showing the bracket ties to the
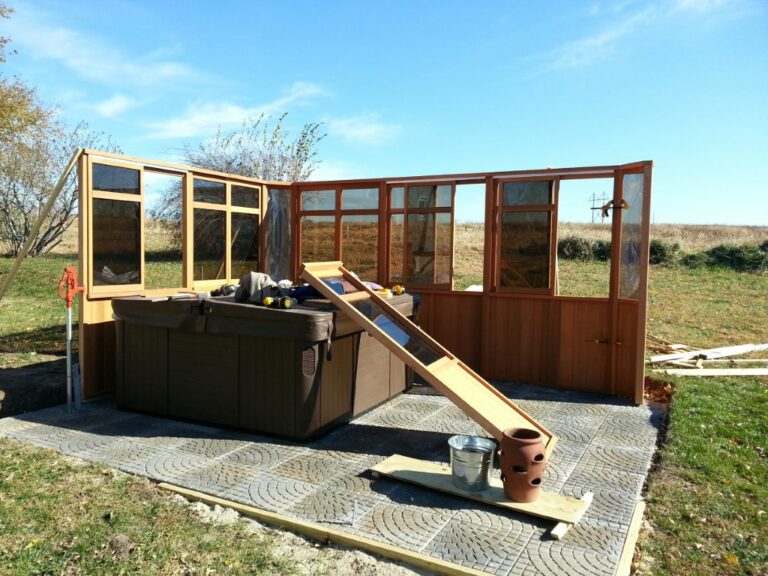
The building went together easily and we are enjoying it as a hot tub enclosure/ greenhouse/ bird watching blind. I put it together by myself

Glenn Let me know if you can view our recent build! Very impressed with the materials and instructions. Took 2 days to build but everthing
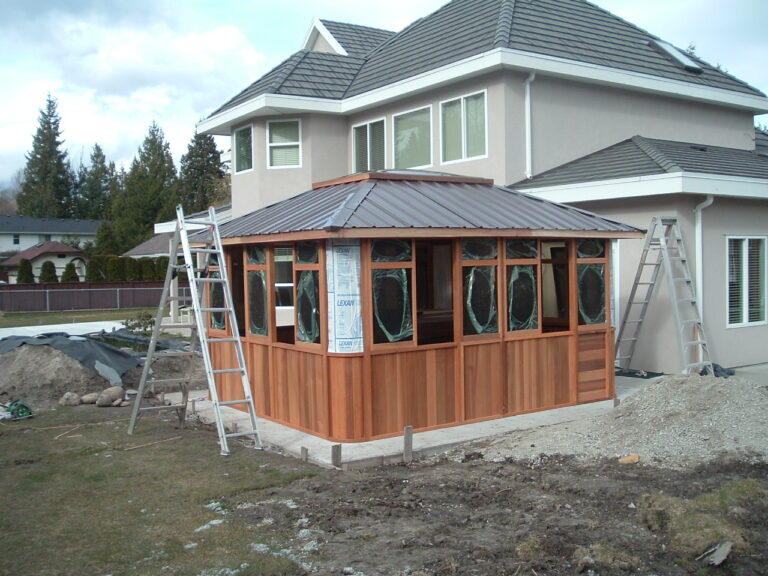
Just wanted to send some pictures of my new 12X14 pacific gazebo. I have completed some of the landscaping and will send more pictures when
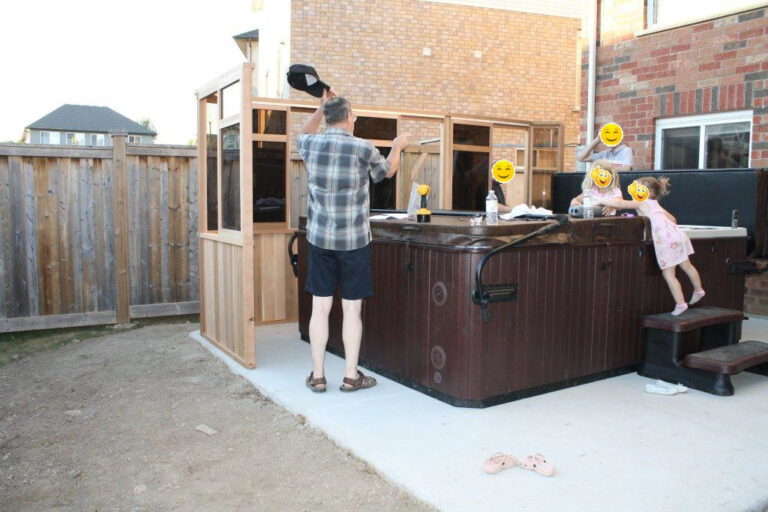
Hi Glen, This is a little overdue but attached are the pics of the new gazebo. Thank-you so much for your service throughout this whole
Installing a hot tub enclosure can be a complex and time-consuming process, but with the right tools and guidance, it is possible to do it yourself (D-I-Y). Here are some general steps for installing a hot tub enclosure:
Prepare the site: Clear the area where you plan to install the gazebo. Make sure the ground is level and compact, and remove any debris or obstructions that could get in the way.
Lay the foundation: you will need to pour a concrete slab or lay a set of pavers to support the structure.
Assemble the enclosure: Follow the gazebo assembly instructions to assemble the enclosure. This includes assemble the wall panels, install the wall top plates, install skylight box and roof rafters, attaching roof panels, and installing ceilings, doors, screens, and other features.
Secure the enclosure: Once the enclosure is assembled, secure it to the foundation or the ground using anchors or bolts. This will ensure that the enclosure stays in place and is stable during use.
Finish the installation: Finally, add any finishing touches, such as landscaping around the enclosure or installing lighting, to complete the installation.
Note that these steps are general guidelines, and the specific installation process will vary depending on the type of enclosure you choose and the specific instructions. If you are not comfortable doing the installation yourself, you may want to hire a professional installer to ensure that the job is done correctly.